Solutions to oil leakage in the drive shaft
Effective Solutions for Drive Shaft Oil Leaks: Diagnosis and Repair Strategies
Drive shaft oil leaks are a common issue that can compromise drivetrain efficiency, create safety hazards, and lead to premature component failure. These leaks often stem from worn seals, damaged components, or improper maintenance, but identifying the root cause and applying targeted solutions can restore functionality and prevent further damage. Below, we explore the primary causes of drive shaft oil leaks and actionable steps to resolve them.
Identifying the Source of the Leak
The first step in addressing a drive shaft oil leak is pinpointing its origin. Drive shafts rely on seals at joints, such as universal joints or CV joints, to prevent lubricant from escaping. Leaks may also occur at the transmission or differential output shafts, where the drive shaft connects. Start by cleaning the area around the suspected leak with a degreaser to remove grime and old oil. Run the engine briefly to circulate fresh lubricant, then inspect for fresh drips or wet spots. Common indicators include oil residue on the underside of the vehicle, puddles beneath the drivetrain, or a burning smell from oil contacting hot exhaust components. Use a flashlight to examine seals and joints for cracks, tears, or hardening, which are typical signs of wear.
Addressing Worn or Damaged Seals
Seals are the most vulnerable components in preventing oil leaks. Over time, exposure to heat, friction, and contaminants causes seals to degrade, losing their ability to form a tight barrier. If a seal is cracked, brittle, or misaligned, it must be replaced to stop the leak. To replace a seal, lift the vehicle securely and remove the drive shaft following the manufacturer’s guidelines. Carefully pry out the old seal using a seal puller, taking care not to scratch the housing. Clean the sealing surface thoroughly to remove debris and old adhesive. Install the new seal by gently tapping it into place with a seal driver, ensuring it sits flush with the housing. Apply a thin layer of grease to the seal lip to ease installation and prevent initial wear. Reinstall the drive shaft and test for leaks after a short drive.
Inspecting and Replacing Universal or CV Joints
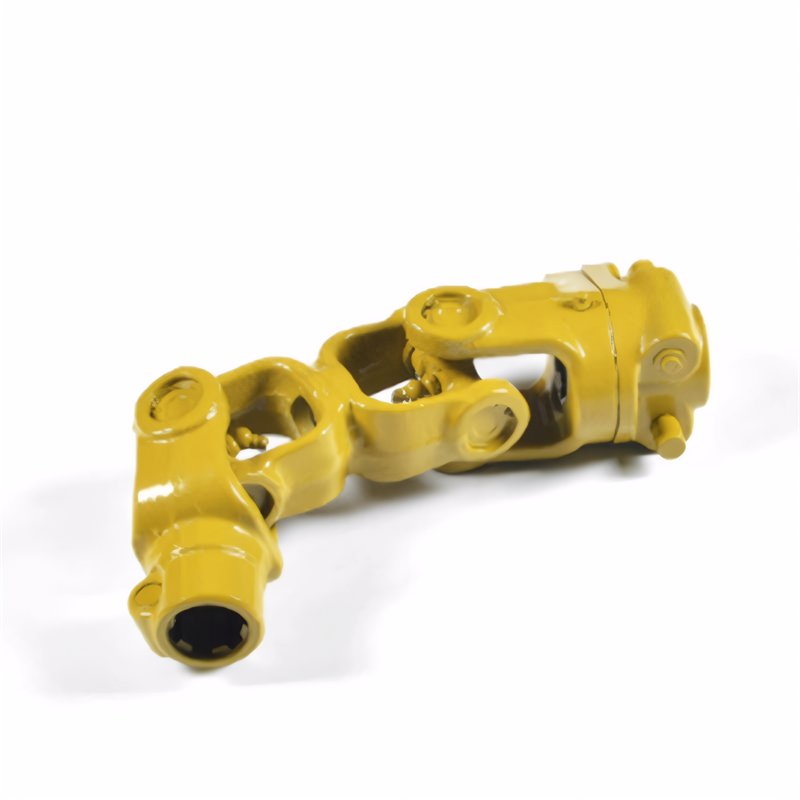
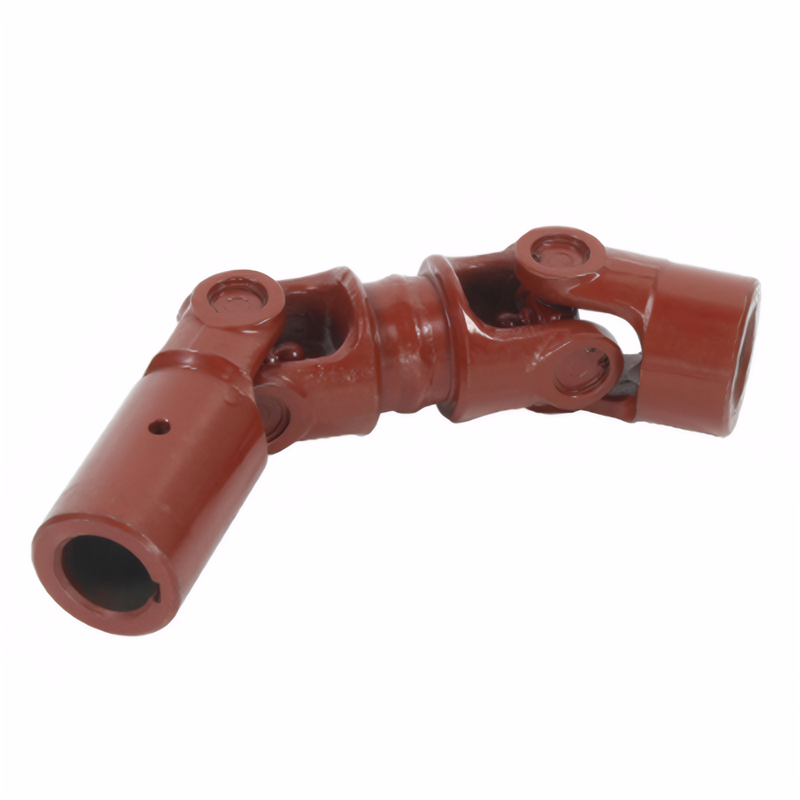
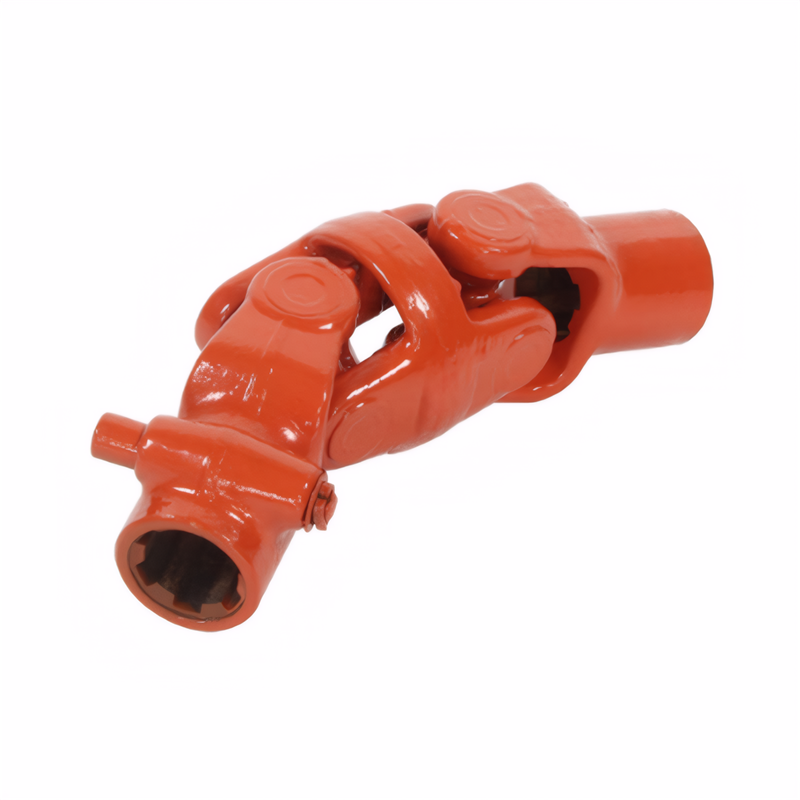
Universal joints (U-joints) and CV joints are critical for flexible power transmission but can contribute to leaks if damaged. Worn U-joint bearings may create excessive play, allowing oil to seep past seals. Similarly, torn CV joint boots expose the joint to dirt and moisture, accelerating wear and causing lubricant loss. To inspect U-joints, grasp the drive shaft near each joint and check for lateral movement or clunking noises during rotation. For CV joints, look for cracks or splits in the rubber boot and signs of grease leakage. If joints are damaged, replace them promptly. Removing a U-joint involves pressing out the old bearings with a hydraulic press or specialized tool, while CV joints may require disassembling the boot and cleaning the joint before reinstalling a new boot with fresh grease. Proper alignment during reassembly is crucial to avoid vibrations and premature failure.
Ensuring Proper Lubrication and Maintenance
Inadequate lubrication can exacerbate drive shaft leaks by increasing friction and heat, which degrade seals and joints faster. Most drive shafts rely on grease-filled joints that require periodic maintenance. If lubricant levels are low, seals may dry out and crack, allowing oil to escape. Follow the vehicle’s service manual to determine the correct grease type and reapplication intervals. Use a grease gun to inject fresh lubricant into U-joint or CV joint fittings until old grease pushes out, indicating full saturation. Avoid over-greasing, as excess pressure can damage seals. Additionally, check for loose or damaged drive shaft bolts, which may cause misalignment and stress seals. Tighten bolts to the specified torque and inspect for signs of wear on mounting brackets or yokes.
Drive shaft oil leaks demand prompt attention to avoid costly repairs and safety risks. By systematically diagnosing the leak’s source, replacing worn seals or joints, and maintaining proper lubrication, drivers can restore drivetrain integrity and extend component lifespan. Regular inspections during routine maintenance, such as oil changes or tire rotations, help catch leaks early before they escalate into major problems. Neglecting these steps may lead to drivetrain failure, reduced fuel efficiency, or loss of vehicle control, underscoring the importance of proactive care.
 Method for detecting the stabi
 Reliability testing standard f
 Certification of environmental
 Transmission shaft safety perf
 简体中文
简体中文 English
