 简体中文
简体中文 English

Repair techniques for corrosion and perforation of drive shafts
Effective Techniques for Repairing Corrosion-Induced Perforations in Drive Shafts
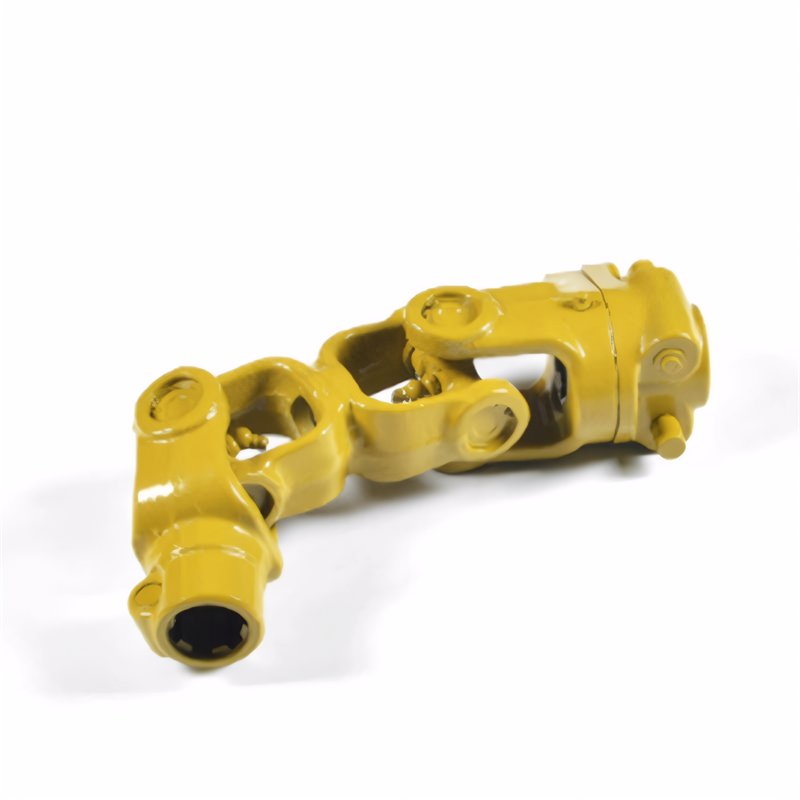
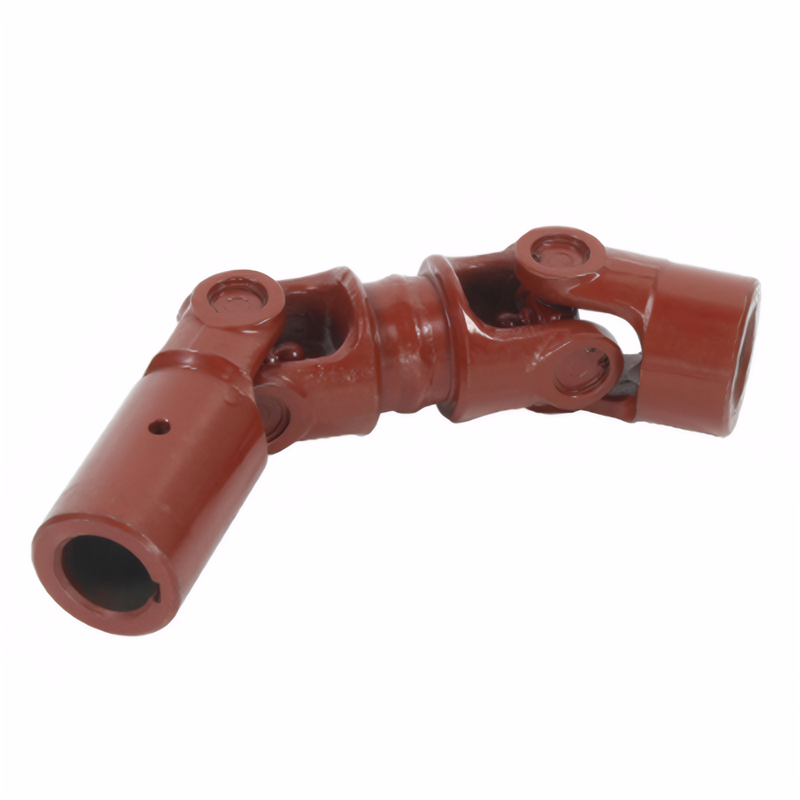
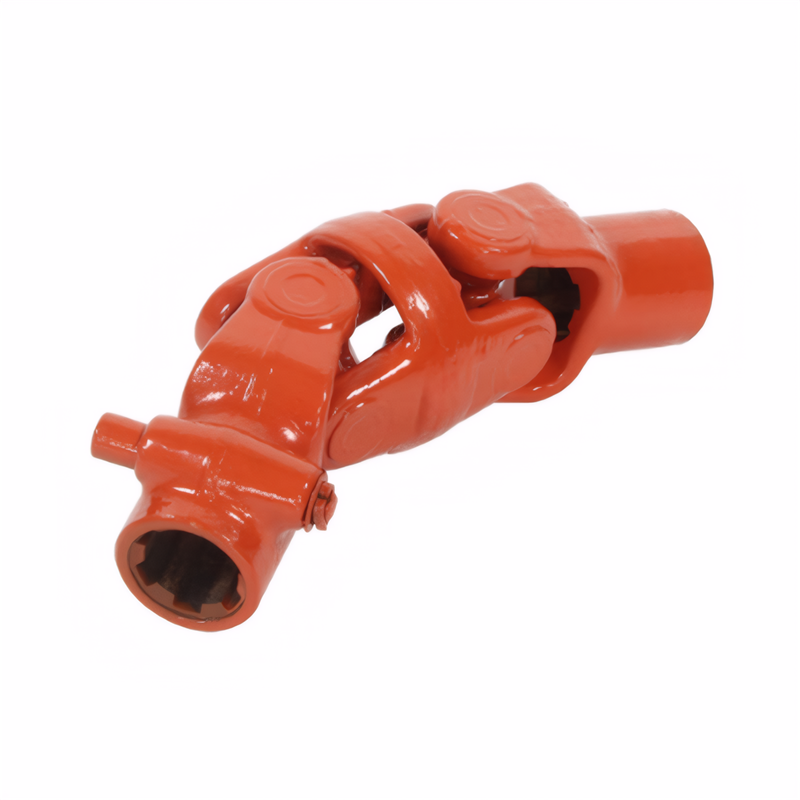
Drive shafts are critical components in automotive and industrial machinery, responsible for transmitting torque between the transmission and driven wheels or equipment. However, prolonged exposure to harsh environments, moisture, and chemical contaminants can lead to corrosion, which may eventually cause perforations. Addressing these issues promptly is essential to prevent catastrophic failures and ensure operational safety. Below are detailed repair strategies tailored to different scenarios.
Surface Preparation: The Foundation of Successful Repair
Before applying any repair material, thorough surface preparation is non-negotiable. Corrosion-induced perforations are often accompanied by loose rust, scale, and contaminated metal layers. These must be removed to create a clean, rough surface that enhances adhesion.
Start by using a wire brush or abrasive pad to eliminate loose debris around the perforation. For larger areas, angle grinders with sanding discs or flap wheels can expedite the process. Next, employ a rotary tool with a carbide burr to carefully remove corroded metal from the edges of the hole, ensuring a smooth transition between the damaged and intact sections. Avoid over-grinding, as this may weaken the surrounding structure.
After mechanical cleaning, degrease the surface using a solvent-based cleaner or alkaline solution to remove oils, grease, and other contaminants. Rinse thoroughly with clean water and dry the area completely using compressed air or a heat gun set to a low temperature. This step is crucial, as residual moisture can compromise the repair material’s bonding properties.
Filling Techniques for Small to Medium Perforations
For perforations with diameters up to 10 mm, metal-filled epoxy compounds offer a practical solution. These materials combine epoxy resin with metallic particles, providing both structural integrity and corrosion resistance.
To apply, mix the two-part epoxy according to the manufacturer’s instructions, ensuring a homogeneous consistency. Use a putty knife or spatula to press the material firmly into the perforation, overfilling slightly to account for shrinkage during curing. Smooth the surface with a flat tool, maintaining a slight convex profile to prevent water pooling.
Allow the epoxy to cure as specified, typically ranging from 4 to 24 hours depending on ambient temperature. For faster curing, apply gentle heat using a heat lamp or infrared heater, but avoid excessive temperatures that could degrade the material. Once cured, sand the repaired area flush with the surrounding surface using fine-grit sandpaper (220–400 grit) to prepare for further finishing.
Welding Repairs for Large Perforations or Structural Reinforcement
When dealing with larger perforations or areas requiring structural reinforcement, welding is the preferred method. However, this technique demands skill and precision to avoid introducing new stress concentrations or distorting the drive shaft.
Begin by selecting a welding process suitable for the shaft’s material. For steel shafts, shielded metal arc welding (SMAW) or gas metal arc welding (GMAW) are common choices, while aluminum shafts may require tungsten inert gas (TIG) welding for better control. Ensure the welding machine is properly calibrated and the electrodes or filler wires match the base metal’s composition.
Before welding, preheat the area around the perforation to a temperature recommended by the material specifications, typically between 100–200°C. This reduces the risk of cracking due to thermal stress. Weld in short, overlapping passes, allowing each layer to cool slightly before applying the next. Use a backstep or skip welding technique to distribute heat evenly and minimize distortion.
After welding, post-heat the repaired area to relieve residual stresses, followed by slow cooling to room temperature. Inspect the weld for defects such as porosity, cracks, or incomplete fusion using visual inspection, dye penetrant testing, or ultrasonic testing if necessary. Finally, grind the weld bead flush with the surface and perform a final sanding to achieve a smooth finish.
Post-Repair Protection: Ensuring Long-Term Durability
Regardless of the repair method used, protecting the repaired area from future corrosion is essential. Apply a corrosion-inhibiting primer compatible with the repair material, followed by a topcoat of high-quality paint or coating. For added protection, consider applying a thin layer of wax or grease to the repaired section, especially if the drive shaft operates in wet or chemically aggressive environments.
Regular maintenance is also critical. Inspect the repaired area periodically for signs of corrosion, cracking, or wear, and address any issues promptly. Implement preventive measures such as installing protective covers or shields to minimize exposure to corrosive agents, and ensure proper drainage to prevent water accumulation.
 Method for detecting the stabi
 Reliability testing standard f
 Certification of environmental
Transmission shaft safety perf
Certification of environmental
Transmission shaft safety perf