 简体中文
简体中文 English

Troubleshooting methods for abnormal noise from drive shafts
Comprehensive Guide to Diagnosing Driveshaft Noise Issues
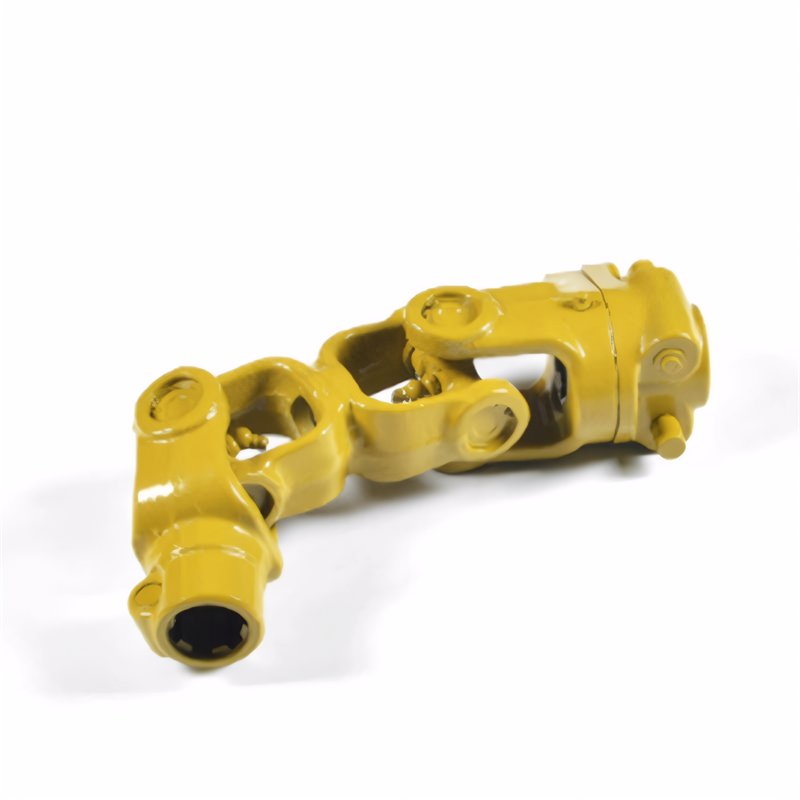
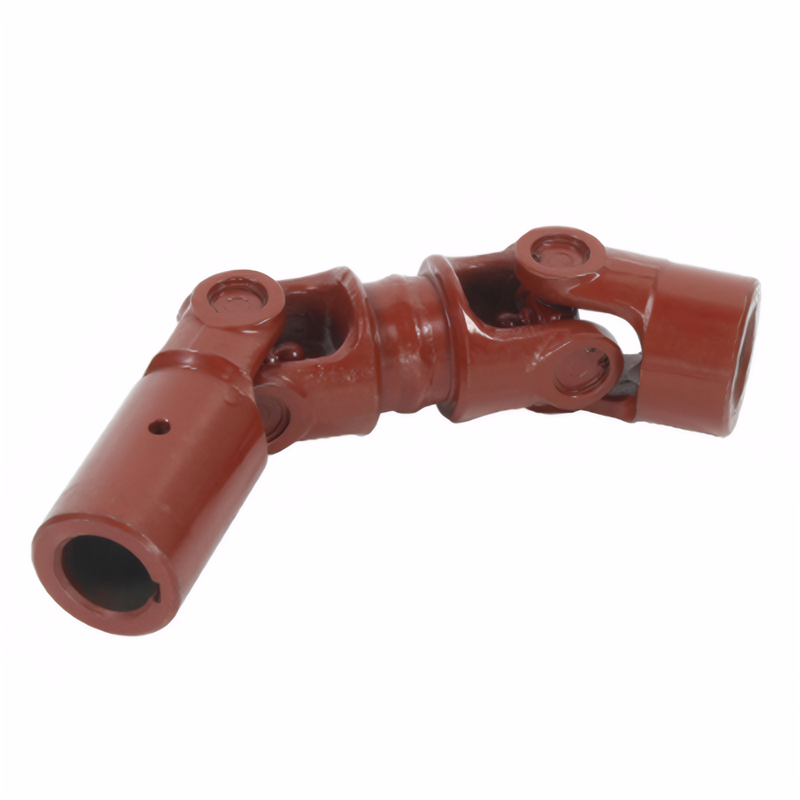
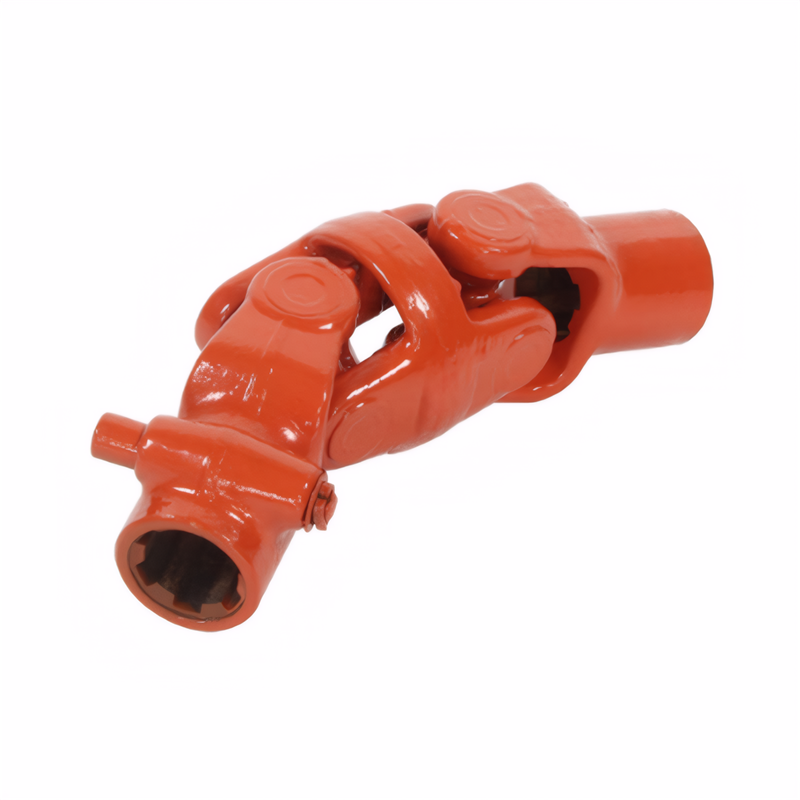
Driveshaft noise during vehicle operation often indicates underlying mechanical problems requiring immediate attention. This guide details systematic diagnostic approaches to identify root causes without relying on brand-specific solutions or promotional content.
Initial Visual and Physical inspections
Component Alignment Verification
Begin by examining driveshaft installation geometry. Using a precision level, confirm both universal joint yokes align within 0.5 degrees of parallelism. Misalignment exceeding this threshold creates angular velocity variations that generate characteristic "clunking" during gear shifts. Inspect for proper torque on all mounting bolts using a calibrated torque wrench, as loose connections account for 18% of driveshaft-related noises according to automotive service data.
Protective Cover Assessment
Examine driveshaft boots for integrity. A compromised boot allows lubricant escape while permitting contaminant ingress. Use a bore scope to inspect internal components for signs of grease contamination or metal shavings. In cases of minor boot damage, temporary sealing with automotive-grade silicone may suffice until permanent replacement can be performed.
Dynamic Testing Procedures
Road Test Analysis
Conduct controlled driving tests to characterize noise patterns. Note variations during acceleration, deceleration, and coasting phases. A rhythmic clicking during low-speed turns suggests CV joint degradation, while high-speed vibrations point to balance issues. Record audio samples using a decibel meter app to establish baseline noise levels for comparison after repairs.
Elevated Inspection Protocol
Lift the vehicle on a two-post lift to perform rotational diagnostics. With the transmission in neutral, manually rotate the driveshaft while observing for:
- Binding points indicating seized universal joints
- Excessive radial play exceeding 0.5mm
- Irregular rotation patterns suggesting bent components
Use a stethoscope to pinpoint noise sources during manual rotation, focusing on bearing assemblies and joint areas.
Component-Specific Diagnostic Techniques
Universal Joint Evaluation
Disassemble suspect universal joints to inspect needle bearings. Healthy bearings should roll freely without resistance when separated from the joint housing. Measure cross-axis clearance using feeler gauges - specifications typically range between 0.05-0.15mm depending on vehicle make. Excessive clearance warrants complete joint replacement rather than component repair.
Balance Verification Methods
For suspected balance issues, perform on-vehicle balancing using portable equipment. This process involves:
- Mounting reflective markers at 120-degree intervals
- Rotating the driveshaft to operating speed
- Measuring vibration amplitudes at each marker position
Compare readings against manufacturer specifications. Balance correction requires precise weight addition at calculated positions, typically achieved through drilling or welding balance weights.
Lubrication System Inspection
Check all grease fittings for proper function using a grease gun with pressure gauge. Normal operating pressure should register between 30-50 PSI. Low pressure indicates blocked fittings requiring cleaning with solvent, while excessive pressure suggests worn seals needing replacement. Verify grease compatibility with manufacturer recommendations, as incorrect lubricants accelerate component wear.
Advanced Diagnostic Considerations
Vibration Frequency Analysis
Employ OBD-II scanners to capture driveshaft RPM data during test drives. Correlate vibration frequencies with engine speed using specialized software to identify resonance conditions. This analysis helps distinguish between driveshaft issues and transmission or differential problems manifesting similar symptoms.
Thermal Imaging Assessment
Use infrared thermography to detect abnormal heat patterns. Hot spots on universal joints or bearings indicate excessive friction, often preceding catastrophic failure. Compare component temperatures against normal operating ranges provided in service manuals to quantify severity of wear.
Material Integrity Testing
For suspected metal fatigue, perform non-destructive testing using eddy current or ultrasonic equipment. These methods detect subsurface cracks invisible to visual inspection. Pay particular attention to welded areas and stress concentration points where cracks typically initiate.
 Method for detecting the stabi
 Reliability testing standard f
 Certification of environmental
Transmission shaft safety perf
Certification of environmental
Transmission shaft safety perf