 简体中文
简体中文 English

Maintenance measures for drive shafts after they have been exposed to water
Post-Water Exposure Maintenance Procedures for Transmission Shafts in Automotive Applications
Immediate Inspection and Initial Cleaning Protocols
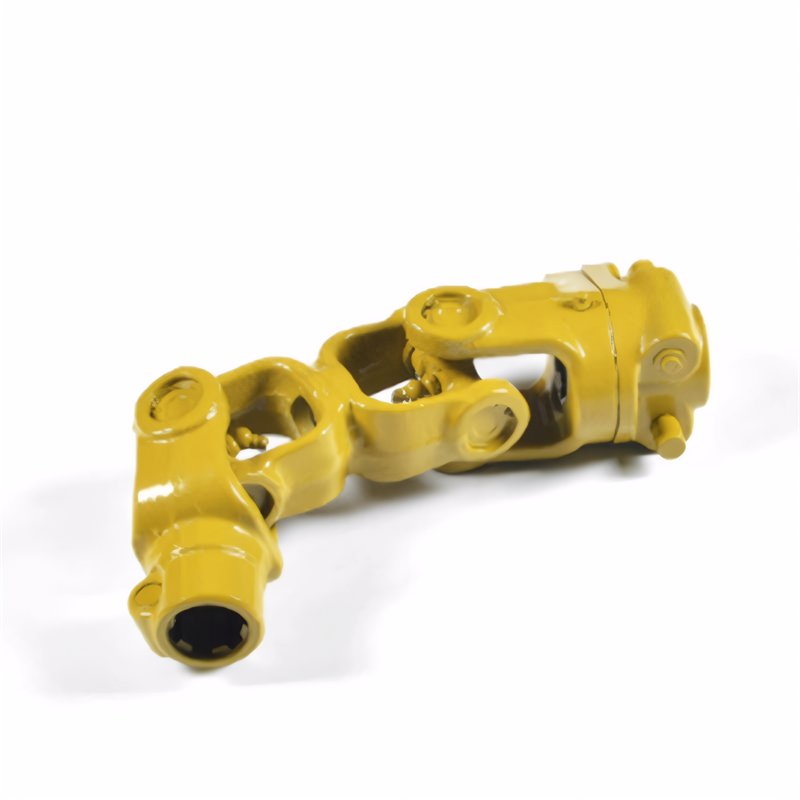
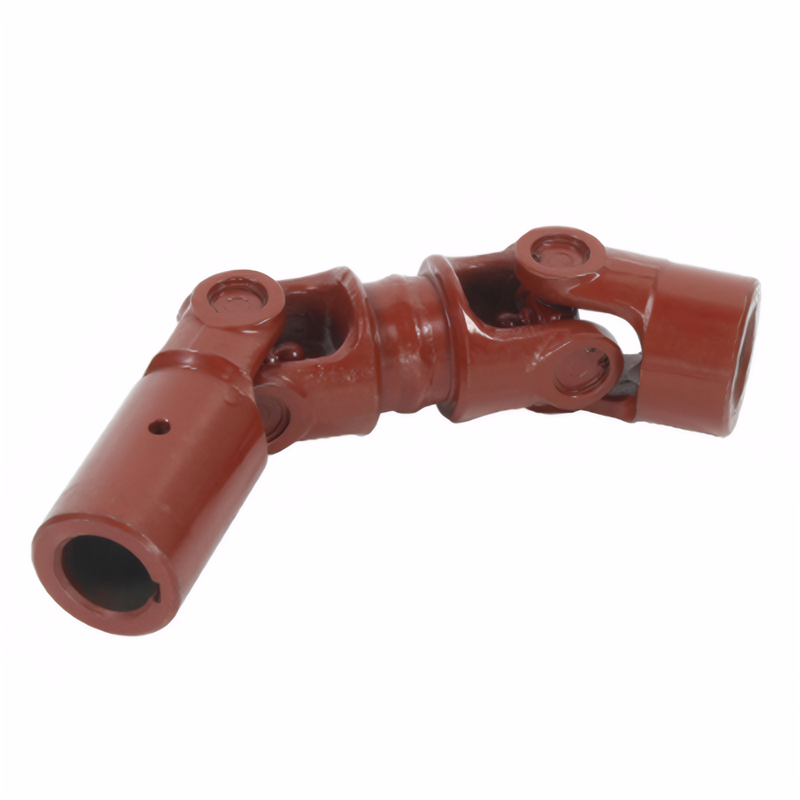
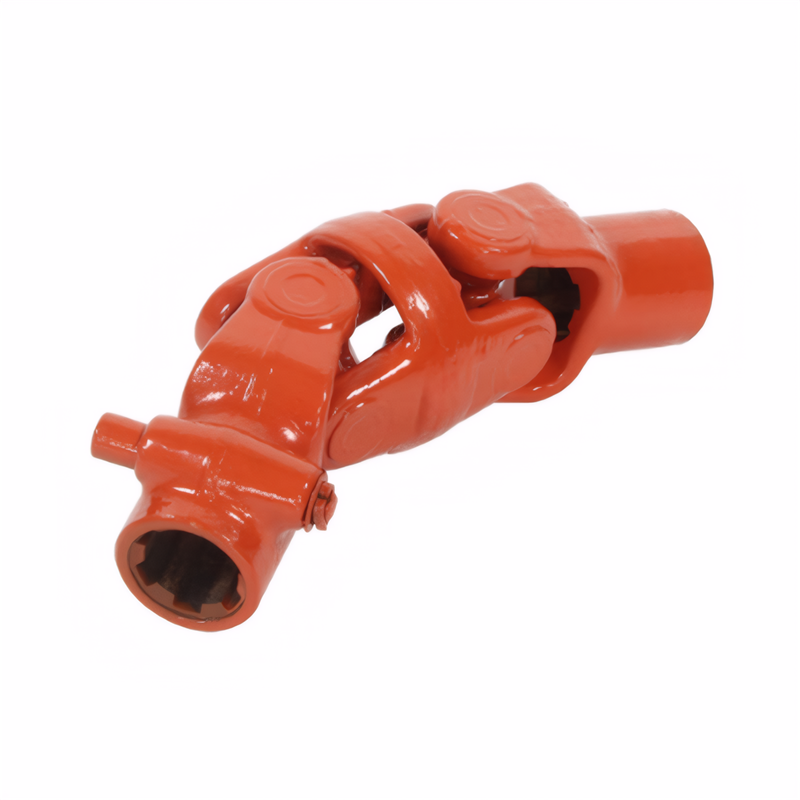
After vehicle exposure to standing water or deep puddles, prioritize transmission shaft inspection within 24 hours. Begin by visually examining the entire shaft length for visible water ingress through boot seams or damaged protective covers. Use a high-intensity work light to detect moisture trapped in universal joint housings or slip yoke interfaces.
Pay special attention to黄油嘴 (grease fittings) on conventional shafts, as water exposure often causes lubricant displacement. Clean external surfaces with a microfiber cloth and automotive-grade degreaser to remove surface contaminants that could obscure damage indicators. For vehicles equipped with exposed cross joints, rotate the shaft manually to check for abnormal resistance or grinding noises that suggest internal corrosion.
Document all findings with detailed photographs, focusing on areas where water may have penetrated protective barriers. This documentation provides baseline data for comparison during subsequent maintenance intervals and aids in warranty claims if premature component failure occurs.
Lubrication System Restoration Techniques
For shafts featuring conventional lubrication points, execute a complete lubricant replacement procedure regardless of visible contamination. Use a manual grease gun to purge old lubricant from each fitting until fresh material appears at boot seams, indicating complete system refresh. Apply lithium-based grease with NLGI #2 consistency rating, which provides optimal water resistance and temperature stability for automotive applications.
Inspect boot integrity during re-lubrication, looking for bulging or oil staining that suggests internal pressure buildup from water ingress. Replace any boots showing signs of compromise using OEM-specification components, ensuring proper clamp torque during installation. For vehicles with maintenance-free shafts, verify water exclusion through manufacturer-specified drainage channels using compressed air at 30 PSI.
Implement a 48-hour observation period after initial maintenance, checking for lubricant seepage or unusual operating noises during test drives. This step helps identify latent issues caused by water-induced corrosion that may not be immediately apparent during initial inspection.
Component-Specific Corrosion Mitigation Strategies
Universal joints require disassembly inspection when exposed to water depths exceeding 15cm for more than 30 minutes. Remove cross assemblies and clean all bearing surfaces with 800-grit sandpaper to eliminate surface rust, followed by solvent degreasing and air drying. Apply anti-seize compound to needle bearings before reassembly to prevent future corrosion bonding.
Slip yokes demand particular attention due to spline corrosion risks. Use a wire brush to clean mating surfaces, then apply a thin layer of molybdenum disulfide paste to ensure smooth engagement. Verify proper fitment by measuring interference between yoke and transmission output shaft, ensuring values remain within 0.05-0.15mm tolerance range specified by vehicle manufacturers.
For vehicles equipped with dual-mass flywheels connected to the transmission shaft, inspect the damping spring assembly for water contamination. Compressed air purging through the inspection port helps remove trapped moisture, followed by functional testing to verify proper torsional vibration absorption characteristics. Schedule follow-up inspections at 500km intervals to monitor for delayed-onset corrosion in these critical components.
 The correct installation seque
 Maintenance measures for drive
 Precautions for the maintenanc
The process of balance correct
Precautions for the maintenanc
The process of balance correct