The correct installation sequence of the drive shaft
Proper Installation Sequence for Transmission Shafts in Automotive Applications
Pre-Installation Preparation and Component Verification
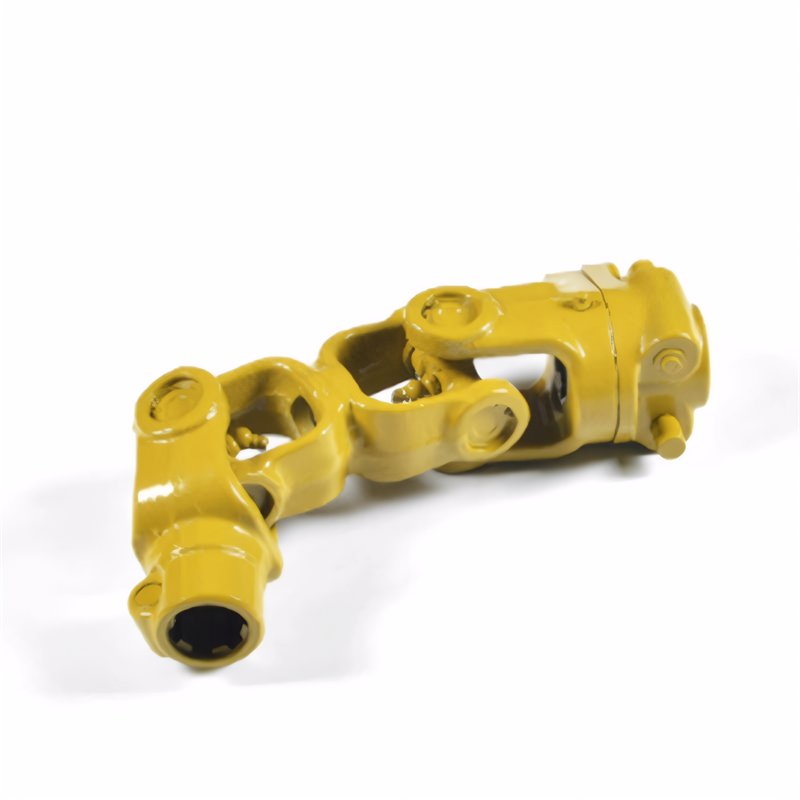
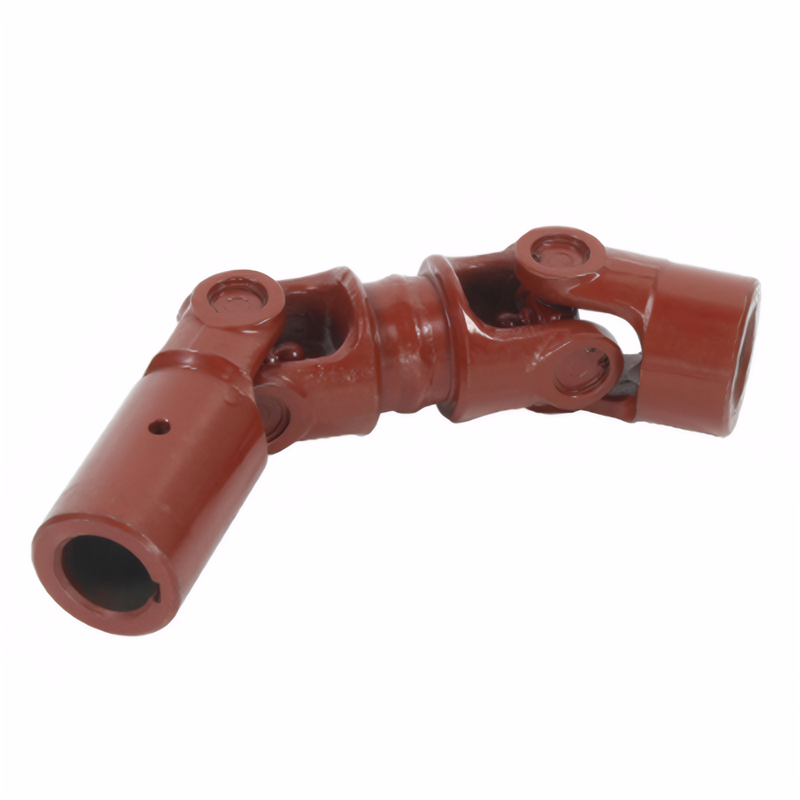
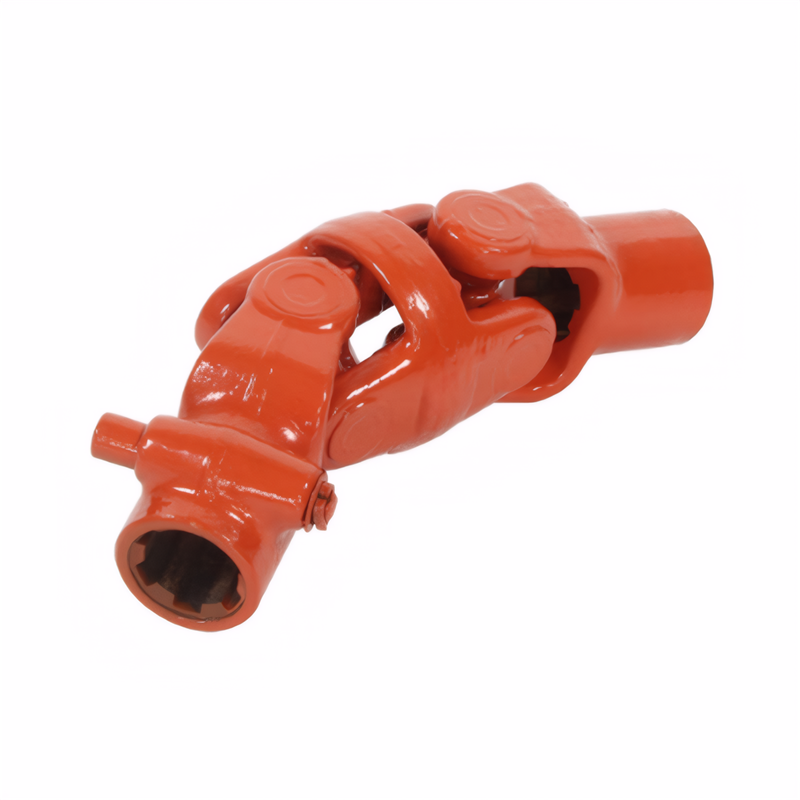
Begin by thoroughly cleaning the transmission shaft and all mating components to remove oil, grease, and debris. Inspect the shaft for visible damage including cracks, excessive wear, or deformation. Verify the integrity of universal joints, splines, and flange surfaces through visual examination and manual rotation tests.
Check all associated hardware for thread damage or corrosion, replacing any compromised bolts or nuts. Ensure the vehicle is securely positioned on level ground with the parking brake engaged and wheels chocked. Use a hydraulic lift to raise the vehicle according to manufacturer-specified lifting points, supporting it with jack stands rated for the vehicle's weight.
Prepare the workspace with organized tool placement and adequate lighting. Gather necessary equipment including torque wrench, dial indicators, and lubrication supplies. Verify that all components match the vehicle's specifications by cross-referencing part numbers with service documentation.
Step-by-Step Assembly Process for Key Components
Align the transmission shaft with the transmission output flange, ensuring proper orientation of any indexing marks or alignment pins. Install the front universal joint by sliding the splined shaft into the transmission yoke, maintaining axial alignment while tightening the retaining nut to the specified torque value.
Proceed to the intermediate support bearing installation if applicable. Position the bearing assembly according to manufacturer markings, ensuring proper clearance from adjacent components. Tighten mounting bolts in a crisscross pattern to prevent warping, using a torque wrench to achieve precise values.
Connect the rear section of the shaft to the differential input flange. Rotate the shaft manually to verify smooth engagement of the splines before final tightening. Apply thread locker to critical fasteners according to service manual recommendations, ensuring chemical compatibility with component materials.
Final Alignment Checks and Operational Verification
Use a dial indicator to measure radial runout at both ends of the shaft, comparing readings against manufacturer tolerances. Adjust component positions as necessary to achieve acceptable values, typically within 0.15-0.30mm depending on application.
Verify proper lubrication of all moving parts including universal joint bearings and spline interfaces. Fill grease fittings to the point of slight seepage, wiping away excess to prevent contamination. Check for adequate clearance between the shaft and chassis components during full suspension travel.
Lower the vehicle and perform a test drive at varying speeds, monitoring for abnormal vibrations or noises. Re-torque all fasteners after the initial 50-100 km of operation to account for component settling. Document all torque values and measurements in the vehicle's service record for future reference.
 The correct installation seque
 Maintenance measures for drive
 Precautions for the maintenanc
 The process of balance correct
 简体中文
简体中文 English
